.webp) easetv.info
easetv.infoREMNANT II: How to Survive, Build Strong Characters, and Master Every World
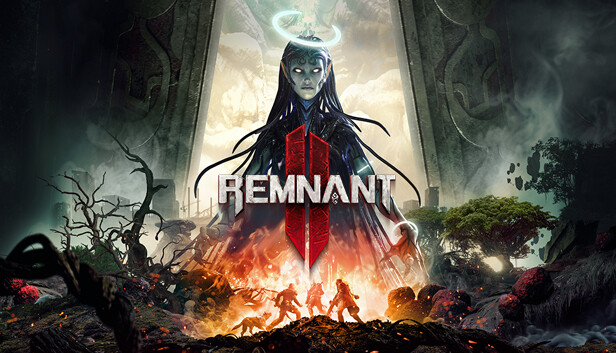
REMNANT II is a challenging third-person action RPG that combines intense gunplay, dangerous melee combat, procedural exploration, powerful archetypes, and demanding boss encounters. Whether you are new to the series or returning after the first game, success depends on more than simply having strong weapons. You must understand how to build your character, manage resources, read enemy patterns, explore carefully, and adapt your strategy to different worlds.
This guide explains how to get started in REMNANT II, improve your combat performance, create effective builds, and progress efficiently from the opening hours to the endgame. The advice is designed for solo players and co-op groups, with practical tips that help you avoid common mistakes and make better decisions throughout your journey.
1. Complete the Tutorial and Learn the Core Controls
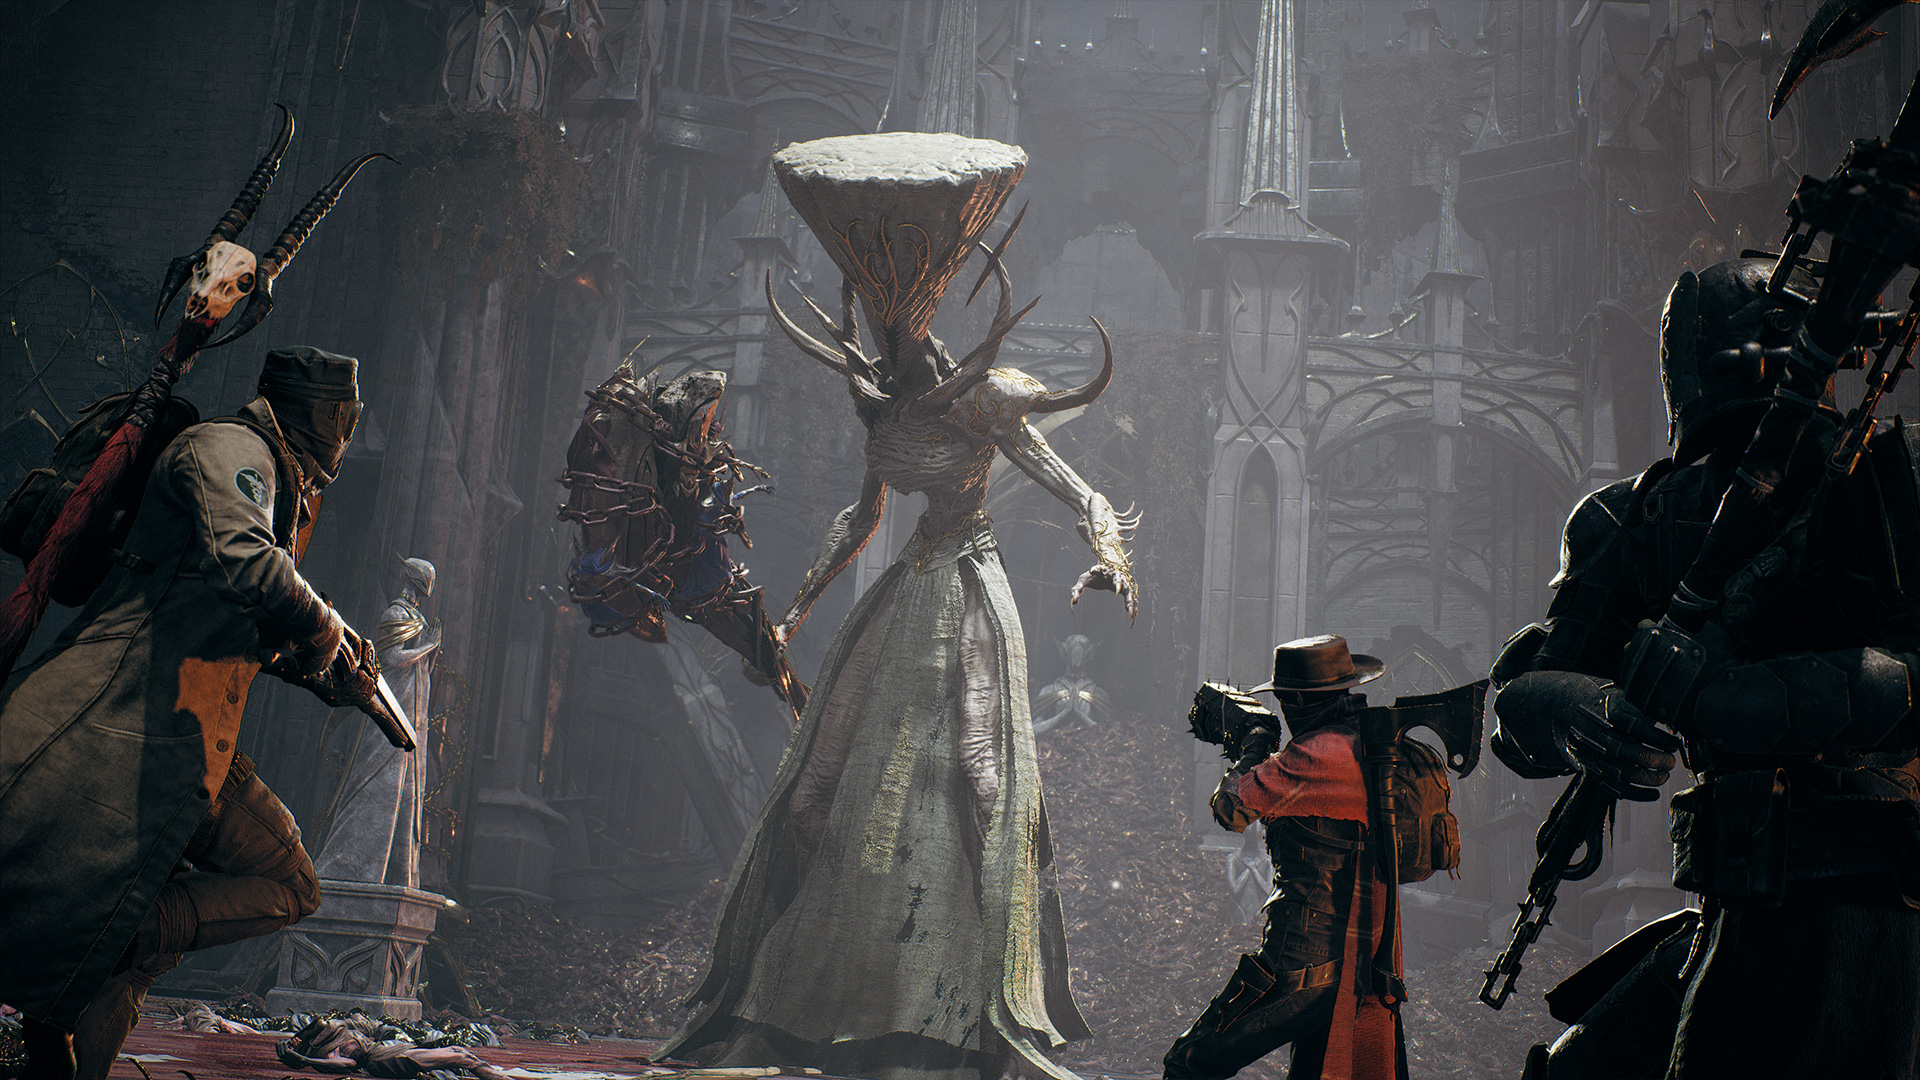
The first step in REMNANT II is to complete the opening tutorial instead of skipping directly into the main campaign. The tutorial introduces essential mechanics such as movement, aiming, shooting, melee attacks, dodging, interacting with objects, and using equipment. It also provides useful context about the world and introduces systems that become important later, including weapon upgrades and modifications. Even experienced action RPG players can benefit from completing this section carefully.
During the tutorial, pay close attention to the timing of your dodge roll. Dodging is not simply a movement option; it is one of your most important defensive tools. Many enemy attacks are designed to punish players who panic, continue attacking too long, or dodge too early. Practice waiting until an attack is about to connect before rolling away. This habit will become extremely valuable during elite encounters and boss fights.
Important Controls to Practice
Before entering the first major world, make sure you are comfortable with:
- Aiming and switching between weapons.
- Reloading while repositioning.
- Dodging through incoming attacks.
- Performing melee attacks without becoming trapped in animations.
- Using your Relic for healing.
- Activating weapon mods and Archetype skills.
- Marking enemies and communicating with teammates in co-op.
The game rewards controlled movement more than reckless aggression. Your goal is not to eliminate every enemy as quickly as possible, but to remain alive while dealing consistent damage.
2. Choose a Starting Archetype That Matches Your Playstyle
After reaching Ward 13, you will choose your starting Archetype. Archetypes function as character classes, providing unique weapons, perks, skills, traits, and specialized gameplay mechanics. Your first choice influences your early experience, but it does not permanently lock your character into one role. Additional Archetypes can be unlocked later and equipped as your build develops.
For new players, the Handler and Medic are useful choices because they provide extra survivability and support. The Handler’s companion can distract enemies and assist during combat, while the Medic offers healing-focused abilities that help players recover from mistakes. Hunter is suitable for players who prefer ranged precision and weak-point damage, while Challenger is designed around close-range combat and greater durability.
Recommended Starting Archetypes
Handler
Handler is a flexible option for solo players because the companion can attract enemy attention and provide additional combat support. This gives beginners more time to aim, reposition, and recover when surrounded.
Medic
Medic is a strong choice for players who want reliable healing and a forgiving learning curve. It is also valuable in co-op because healing abilities can support the entire team.
Hunter
Hunter suits players who enjoy accurate shooting, critical hits, and targeting enemy weak points. However, it requires stronger positioning because mistakes can be punished quickly.
Challenger
Challenger is built for aggressive close-range combat. It can be effective when fighting groups of enemies, but new players must learn how to approach targets without being surrounded.
Do not worry about selecting the “perfect” Archetype immediately. The game encourages experimentation, and you can eventually unlock other classes through exploration and progression. Your starting choice should primarily reflect the type of combat you enjoy most.
3. Learn How Power Level and Equipment Upgrades Work
REMNANT II uses a power-scaling system that considers your Archetype levels and weapon upgrades when determining your character’s overall Power Level. World difficulty and enemy strength are influenced by this system, so upgrading equipment is important, but blindly improving every weapon can waste valuable resources.
A common mistake is spreading upgrade materials across too many weapons. Instead, choose one main long gun, one sidearm, and one melee weapon that fit your preferred playstyle. Upgrade them consistently while testing new equipment before investing heavily. This approach keeps your damage reliable without exhausting your Scrap and crafting materials.
Build an Early Equipment Routine
Try to maintain the following routine whenever you return to Ward 13:
- Check whether your main weapon can be upgraded.
- Compare newly discovered weapons with your current equipment.
- Purchase useful consumables when you can afford them.
- Visit merchants to check for new mods, armor, and crafting materials.
- Review your Archetype skills and adjust them to your current challenges.
Do Not Upgrade Everything
REMNANT II contains many weapons and build combinations. You may discover a powerful weapon that looks attractive, but it does not always make sense to upgrade it immediately. Test its handling, ammunition economy, range, and damage output first.
A weapon that deals high damage on paper may still perform poorly if its recoil is difficult to control or its reload animation leaves you exposed. Choose equipment that you can use consistently rather than equipment that appears impressive in a menu.
4. Build a Balanced Character Instead of Chasing Damage Alone
Damage is important, but survivability, healing, stamina, skill uptime, and utility are equally valuable. A character who deals excellent damage but dies after two mistakes will often perform worse than a balanced build that can survive longer encounters.
Your build should have a clear purpose. For example, a ranged Hunter setup may focus on weak-point damage, critical chance, and weapon mod generation. A Handler build may prioritize general damage, survivability, and companion utility. A Medic can combine healing abilities with defensive bonuses to become a dependable support character in co-op.
Focus on a Core Build
Rather than equipping random rings, amulets, relic fragments, and traits, choose a central mechanic and support it. Possible build themes include:
- Weak-point and critical-hit damage.
- Weapon mod generation.
- Melee damage and close-range survivability.
- Summons and companion support.
- Healing and team protection.
- Status effects and damage-over-time effects.
- Skill cooldown reduction.
- Tanky shield-based defense.
Your equipment should work together. If one item increases skill damage while another improves healing, but your Archetype relies mostly on weapon attacks, the bonuses may not provide meaningful value.
Prioritize Useful Traits
Traits offer passive improvements that shape your character over time. Vigor is generally a dependable early investment because additional health gives you more room to learn enemy patterns and survive unexpected attacks. Other traits become more valuable depending on your build, such as Spirit for skill-focused characters or Endurance for players who rely heavily on stamina and movement.
Do not spend every trait point automatically. Consider what is currently limiting your performance. If you frequently die in one or two hits, defensive traits may be more useful than a small damage increase. If you survive easily but struggle to maintain skill uptime, resource-related traits may provide greater benefits.
5. Understand Weapon Mods, Mutators, Relics, and Consumables
REMNANT II’s combat system becomes much more flexible once you understand how weapon mods, mutators, relics, and consumables interact. These systems allow two players using the same weapon to create completely different builds.
Weapon mods provide special abilities that can change how you approach combat. Some deal burst damage, others apply status effects, create defensive zones, restore health, or control groups of enemies. Select mods based on the challenges you expect to face rather than always choosing the option with the highest direct damage.
Weapon Mods for Different Situations
A few useful categories include:
- Healing mods: Helpful for beginners and long exploration sections.
- Area-of-effect mods: Effective against groups of weaker enemies.
- Crowd-control mods: Useful for slowing, staggering, or separating targets.
- Burst-damage mods: Valuable during boss openings.
- Defensive mods: Helpful when learning difficult encounters.
- Elemental mods: Strong when combined with status-focused equipment.
Mutators provide additional bonuses for weapons and can enhance damage, critical hits, melee attacks, or other mechanics. They can be changed as your build evolves, so do not assume that the first mutator you equip must remain there permanently.
Learn to Control Stamina
Dodging consumes stamina, and repeatedly rolling without a plan can leave you unable to escape a dangerous attack. Try to maintain enough stamina for at least one emergency dodge. Sprinting, melee attacks, and repeated evasive movement can quickly drain your resources.
A good player does not dodge constantly. A good player uses movement deliberately, preserving stamina for attacks that genuinely need to be avoided.
7. Explore Every World Carefully and Search for Hidden Rewards
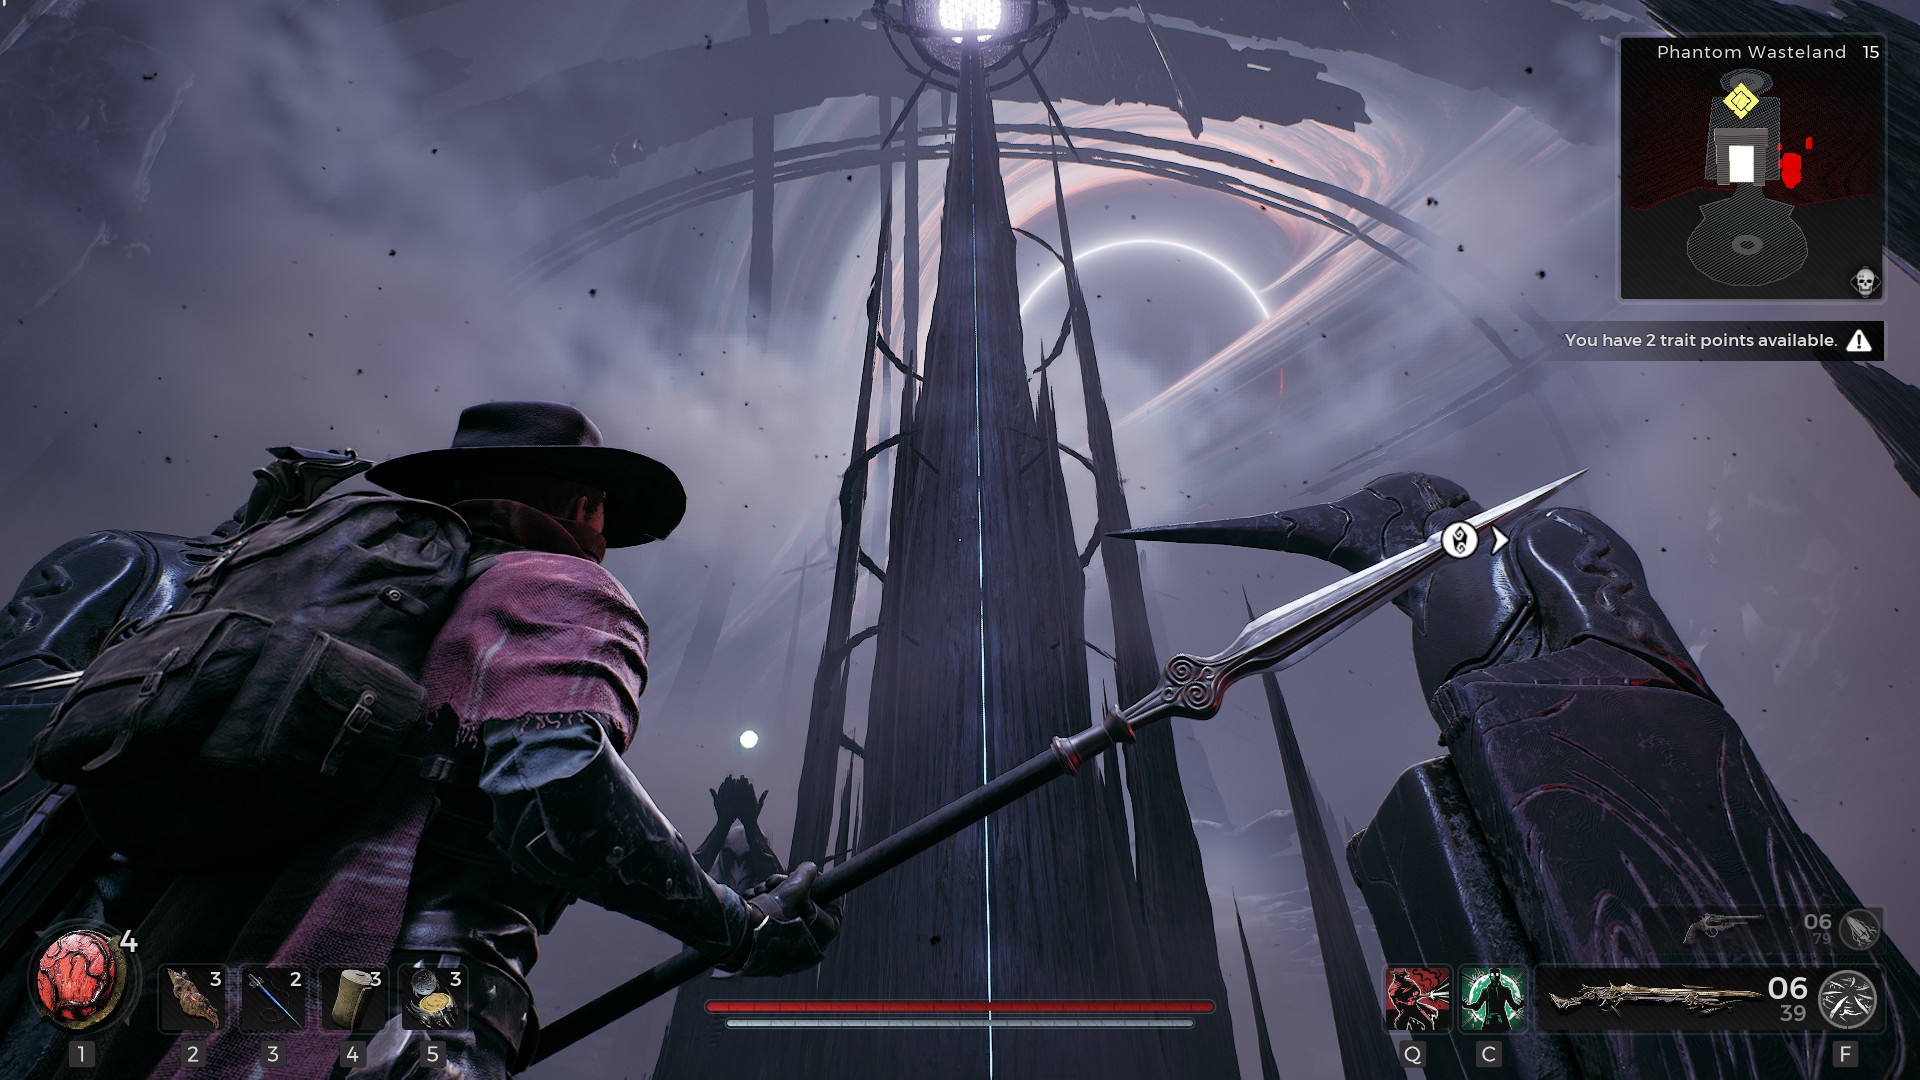
One of REMNANT II’s defining features is its randomized world generation. Campaigns can contain different world layouts, storylines, dungeons, events, bosses, and rewards. This means that two players may experience different content even when visiting the same world.
Because of this structure, rushing directly toward the main objective can cause you to miss valuable equipment and optional encounters. Explore side paths, investigate suspicious rooms, and look for locked doors, hidden switches, unusual statues, and environmental clues.
How to Explore Efficiently
You do not need to inspect every corner randomly. Use a systematic method:
- Follow the main path until you reach a branching area.
- Mark unexplored routes on your map.
- Clear side rooms before moving to the next major objective.
- Search for chests and interactable objects.
- Return to locked areas after obtaining new keys or abilities.
- Revisit locations if a puzzle seems connected to another area.
Some dungeons contain optional events or alternate solutions that provide different rewards. If you discover a strange object that does not seem useful immediately, remember its location rather than abandoning it permanently.
Read Environmental Clues
Many puzzles in REMNANT II are not explained through traditional quest markers. Symbols, paintings, clocks, statues, audio clues, and object placement can all provide hints. If a room appears deliberately arranged, examine it before leaving.
Taking screenshots or writing down unusual clues can help, especially when playing without external guides.
8. Prepare Properly for Elite Enemies and Boss Encounters
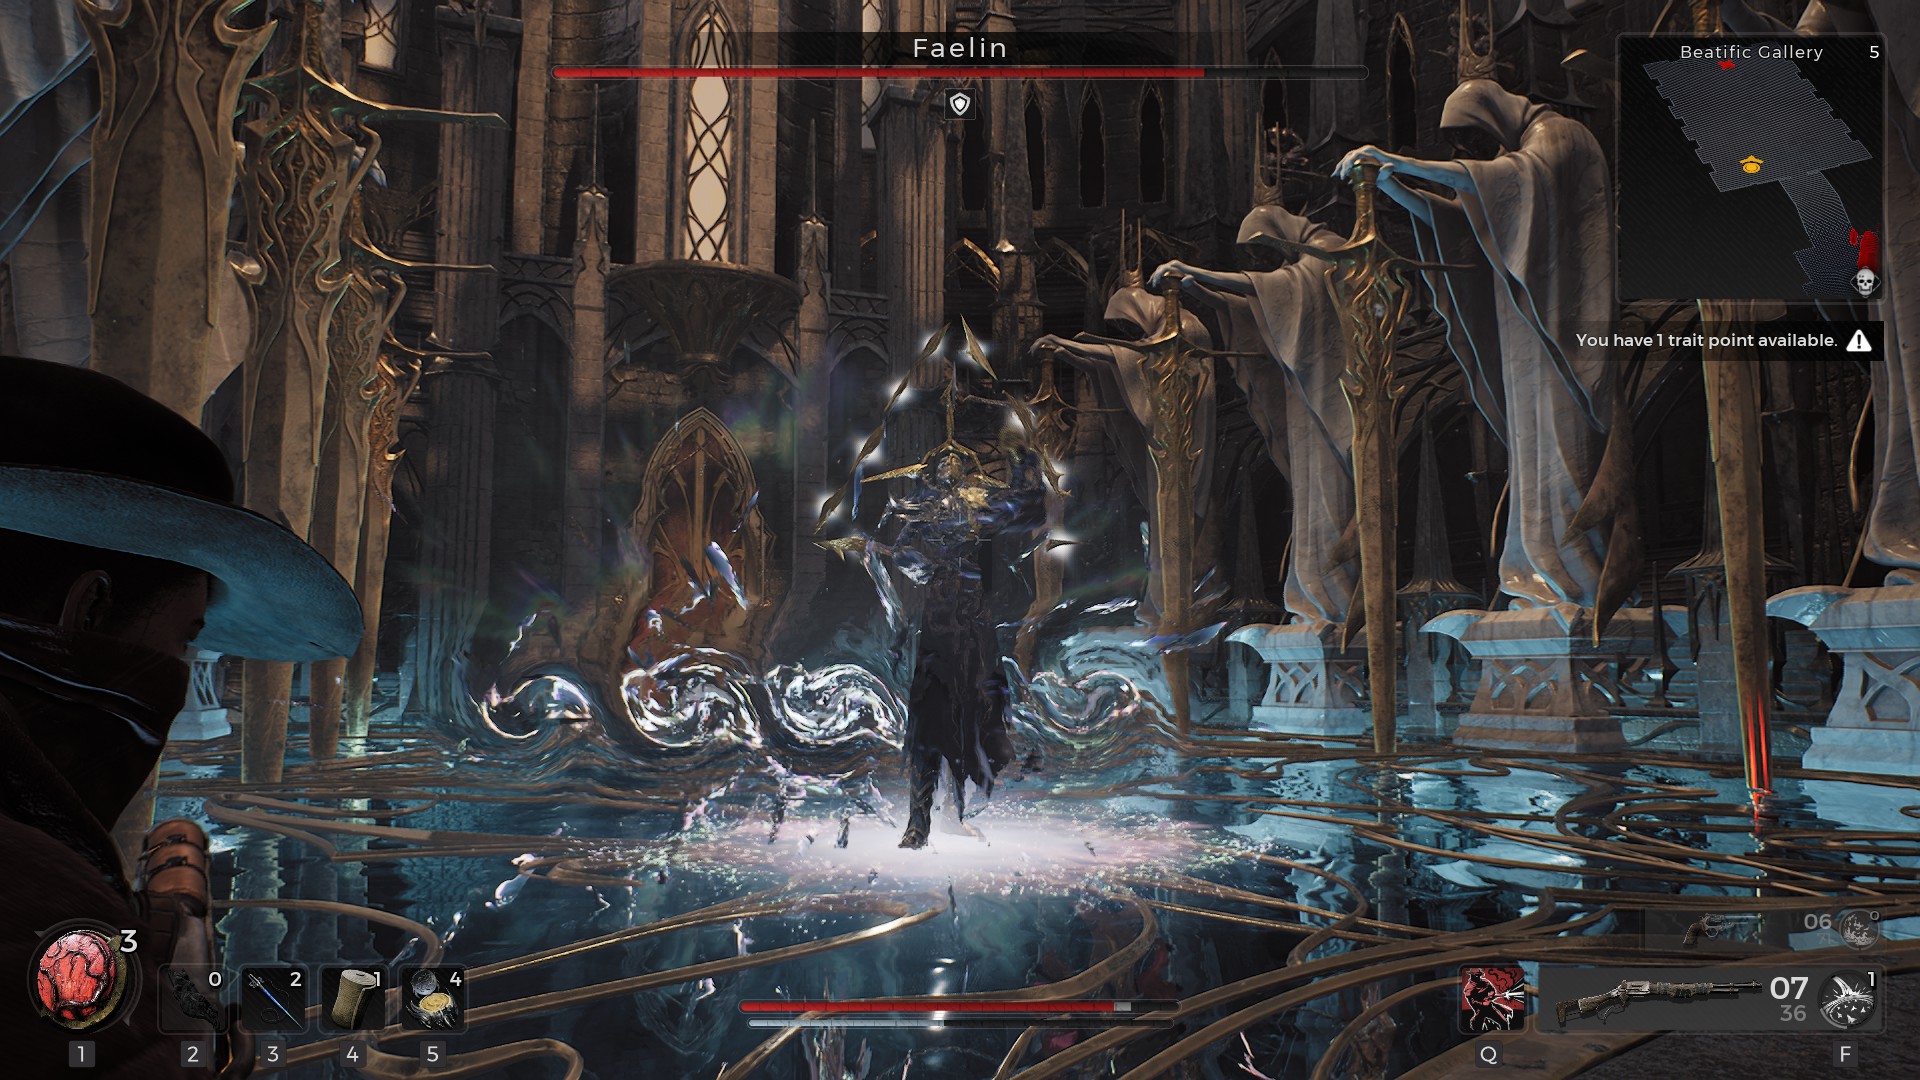
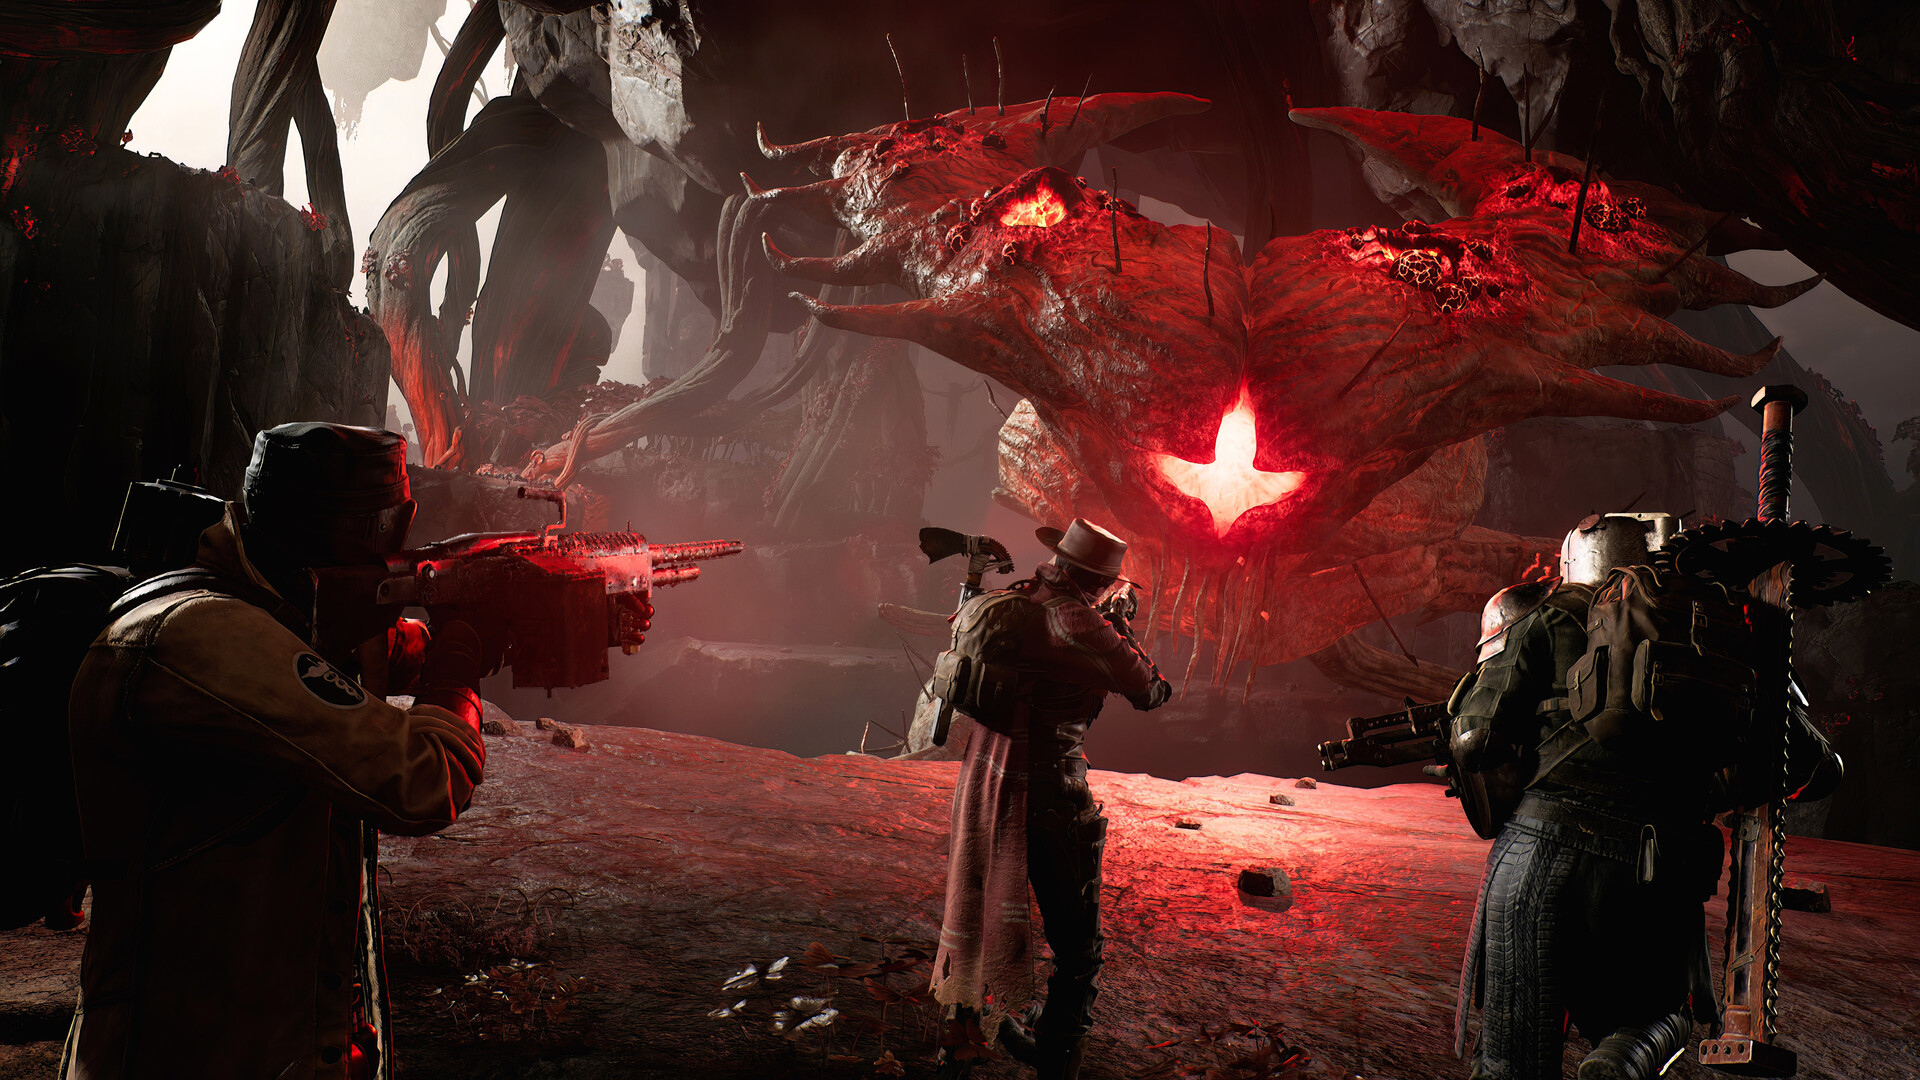
Bosses in REMNANT II are designed to test your entire build, not just your ability to aim. Many encounters include multiple phases, environmental hazards, adds, weak points, delayed attacks, and mechanics that require movement rather than constant shooting.
Before entering a boss arena, make sure your equipment is appropriate. Upgrade your primary weapon if possible, equip a useful weapon mod, refill ammunition, and carry consumables that support your strategy. If you are playing co-op, decide who will focus on damage, crowd control, healing, or reviving.
Study the Boss Before Attempting a Perfect Run
Your first attempt should be treated as an information-gathering session. Observe:
- Which attacks are easy to recognize.
- Whether the boss has a weak point.
- When additional enemies appear.
- Which areas of the arena are safe.
- Whether the boss changes behavior at low health.
- Which attacks can be interrupted or avoided through positioning.
Do not become frustrated if you fail repeatedly. Each attempt should reveal something useful. A failed run becomes valuable when you understand why you died and change your strategy accordingly.
Manage Ammunition and Healing
Boss fights can become difficult when players spend ammunition carelessly during minor phases. Use weapon mods when they provide meaningful value, but avoid wasting every charge before a dangerous attack sequence.
In co-op, revive teammates only when the area is safe. A rushed revival can cause both players to be defeated. Sometimes it is better to eliminate nearby threats first, reposition, and then revive.
9. Use Co-op Communication and Build Team Roles
REMNANT II supports cooperative play, and teamwork can dramatically change how encounters unfold. However, simply having three players does not guarantee success. Teams perform better when each player understands their role and avoids creating unnecessary chaos.
A balanced group may include a damage-focused player, a support-oriented character, and a flexible player who can handle crowd control or revive teammates. These roles do not need to be rigid, but having some structure makes difficult fights easier to manage.
Co-op Tips for Better Runs
- Avoid attacking the same target if another enemy is threatening the group.
- Communicate before activating dangerous events.
- Mark important enemies and objectives.
- Do not revive a teammate while standing in an active hazard.
- Share ammunition and healing opportunities when necessary.
- Let the player with the most suitable build handle certain mechanics.
- Stay close enough to support each other without standing in the same attack zone.
Friendly fire and chaotic positioning can make co-op more difficult, particularly when players use explosive weapon mods or wide-area attacks. Maintain awareness of teammate locations before firing powerful abilities.
Build Around Team Synergy
A Medic can improve group survivability, while a Handler may provide distraction and utility. A Hunter can focus on weak points, and a Challenger can draw attention during close-range encounters. The most effective team is not necessarily the one with three high-damage characters, but the one whose abilities complement one another.
10. Adapt Your Strategy for Endgame Content and Repeated Runs
Completing the campaign is only one part of the REMNANT II experience. Because worlds, dungeons, events, and rewards can vary, later playthroughs encourage players to explore alternate storylines, unlock additional Archetypes, collect new equipment, and experiment with different builds. Adventure Mode allows players to revisit individual worlds without resetting their main campaign progress.
Once you understand the fundamentals, begin setting personal goals instead of simply following the main story. You may want to create a status-effect build, unlock a secret Archetype, collect alternate boss rewards, or prepare for higher difficulty levels.
Improve One Element of Your Build at a Time
Endgame optimization can become overwhelming if you attempt to change every piece of equipment simultaneously. Instead, improve your build in stages:
- Choose a primary damage source.
- Select an Archetype combination that supports it.
- Upgrade your main weapon.
- Add relic fragments that reinforce the build.
- Replace rings and amulets with complementary effects.
- Adjust defensive options after testing the build.
- Practice the build against elites before entering difficult boss fights.
Learn From Every Run
A repeated run should have a purpose. You might be searching for a specific ring, testing a new weapon, practicing a boss, or collecting materials. This mindset makes randomized exploration feel more rewarding and prevents the experience from becoming repetitive.
If a build fails, do not immediately discard it. Identify whether the problem comes from low damage, poor survivability, insufficient healing, weak resource generation, or a mismatch between your equipment and playstyle. Small adjustments can often transform an unreliable setup into a highly effective one.
Conclusion
Learning how to play REMNANT II effectively requires patience, observation, and a willingness to experiment. Start by completing the tutorial, choose an Archetype that matches your preferred combat style, and focus your early resources on a small collection of reliable weapons. As you progress, build around a clear strategy instead of collecting disconnected bonuses.
Combat success comes from more than damage output. Master dodging, manage stamina, study enemy patterns, explore carefully, and prepare for boss encounters with the right equipment. In co-op, communication and role awareness are just as important as individual skill.
Most importantly, remember that REMNANT II is designed to reward discovery. Every world can contain secrets, alternate paths, hidden rewards, and unexpected challenges. Take your time, learn from failed attempts, and continue refining your build. With consistent practice, even the most difficult encounters become manageable.